In short: add the repository link to PixInsight, start AutoIntegrate from the
Script menu, add your light files and press Run. The final image is called
AutoRGB or AutoLRGB and it is saved to the AutoProcessed directory.
This page covers everything you see in Simple mode,
which is how the script starts the first time. Prefer video? Watch the
introduction video.
AutoIntegrate is installed and updated through the PixInsight update system.
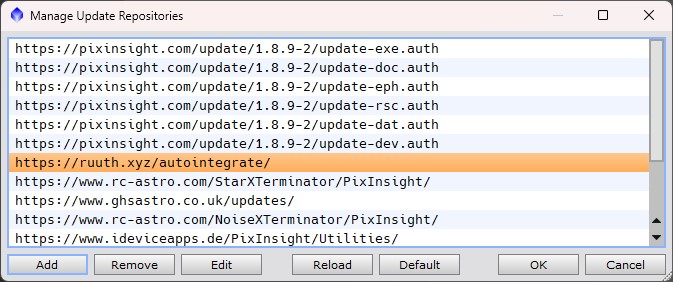
In PixInsight, open Resources / Updates / Manage Repositories.
Click Add and paste https://ruuth.xyz/autointegrate/
Click Resources / Updates / Check for Updates.
Restart PixInsight to install the update.
PixInsight then checks for AutoIntegrate updates every time it starts.
AutoIntegrate works with PixInsight version 1.8.9-1 or later.
Manual download, source code and the test repository
Releases can be downloaded from GitHub releases.
Click Source code (zip) and unzip the file. The
GitHub master branch has the latest development
changes that are not yet released. A test repository at https://ruuth.xyz/test/autointegrate/
usually includes the latest changes from the master branch.
To run a downloaded script, open AutoIntegrate.js in the PixInsight Script Editor and press F9.
AutoIntegrate needs the ImageSolver script from the PixInsight distribution. Copy the contents of
PixInsight-install-directory/src/scripts/AdP to an AdP directory next to the
AutoIntegrate directory.
2. Start the script
Start AutoIntegrate from the Script / AutoIntegrate menu.
Simple and expert modes
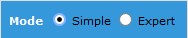
The first time, the script starts in simple mode. Simple mode shows only the most important
options, so you are not overwhelmed. Switch to expert mode at the top of the dialog when you
want to see all options. You can switch back at any time. Options that you changed in expert mode
still apply in simple mode.
Built-in tutorials
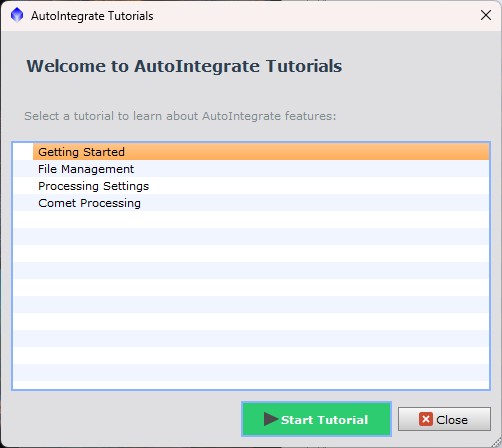
AutoIntegrate has interactive tutorials that walk you through the dialog. The tutorial highlights the
controls you need and explains what each one does. Start them from the Tutorials button
in the main dialog. On first launch they are also offered on the welcome screen.
Getting Started: add files, choose a target type and run your first integration.
File Management: organize input and output files.
Processing Settings: cropping, gradient correction and stretching.
Comet Processing: process comet images.
3. Add files
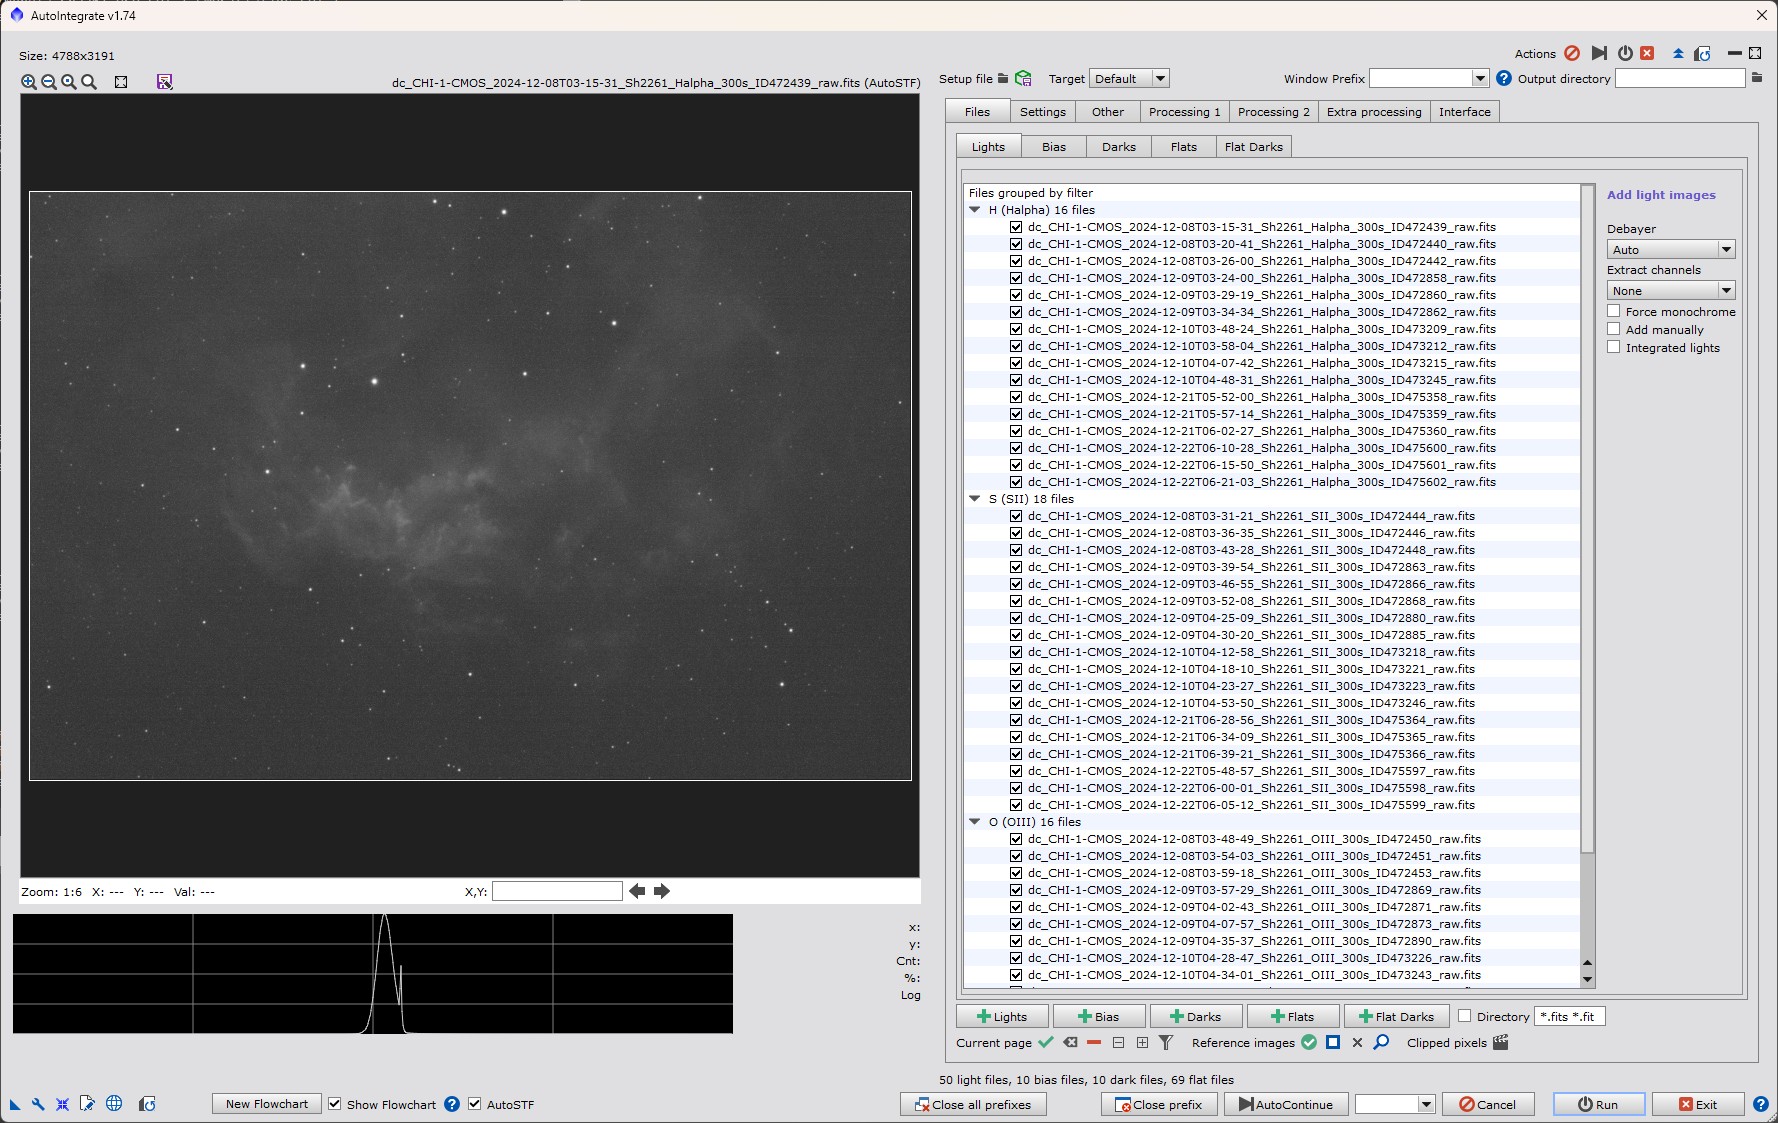
Add files using the buttons at the bottom of the Files tab.
Lights are your image files. They are the only files you need.
Bias, Darks, Flats, Flat Darks are optional calibration files. If you add them, the
script calibrates your light files first. If a tab has only one file, it is used as a master file.
Masters loads existing master calibration files and puts them in the right tabs automatically.
Check Directory to add all matching files from a directory and its subdirectories.
Results are then written to that directory.
Which files work? All files PixInsight can open: FITS from astro cameras, RAW from DSLRs,
calibrated or not. Calibrated files from remote telescopes like Telescope Live, iTelescope, Slooh
and Deep Sky West work fine. OSC and RAW files are debayered automatically. If your files are
already debayered, select None in the Debayer list.
How are filters recognized? The script reads the FILTER keyword from the file, or the
filter letter at the end of the file name (for example ngc6514_R.fit). Files are grouped by filter
in the file list so you can check that they were recognized correctly. If they were not, see
adding filter files manuallyExpert mode.
4. Choose a target type (optional)
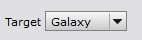
Target at the top of the dialog selects stretching settings that suit your target:
Galaxy: target is a lot brighter than the background.
Nebula: target fills the whole image or is not much brighter than the background.
Star cluster: like galaxy, clusters are often much brighter than the background.
Default uses the current settings, which work reasonably well in many cases.
5. Run
Press Run. Processing can take from minutes to hours depending on the number of files and your computer.
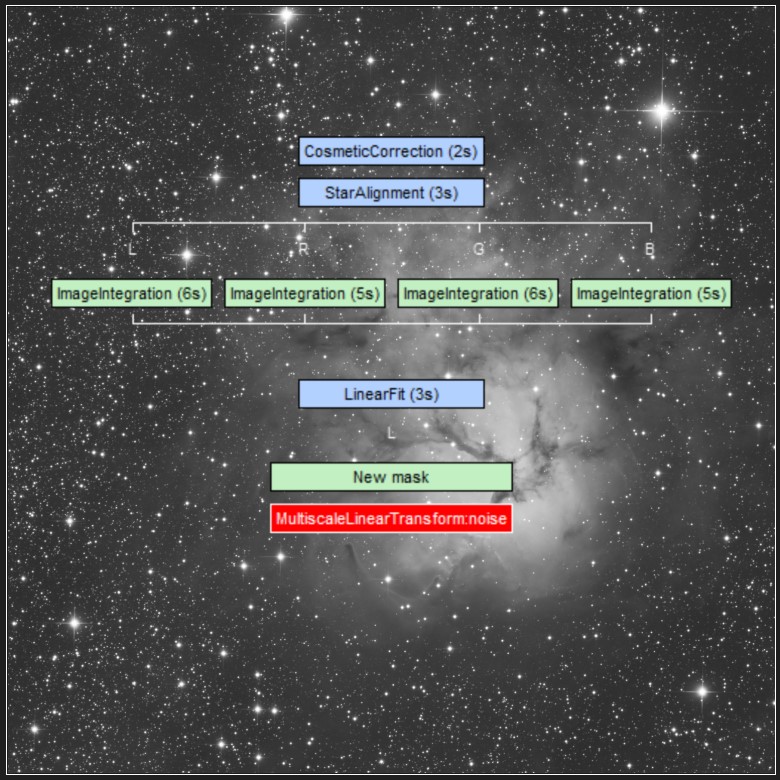
While the script runs, the preview shows a live flowchart of the processing steps and how long
each one takes. Use the Show Flowchart checkbox to switch between the flowchart and the current
image. Click New Flowchart before running to see what the script will do with your files and settings.
Messages are printed to the PixInsight Process Console. Use Cancel to stop processing.
6. Results
When processing is done, the final image is open in PixInsight and saved to disk. Output goes to
subdirectories of the directory of your first light file, or the Output directory you set at
the top of the dialog.
Directory
Contents
AutoProcessed
Final images, integrated images and the AutoIntegrate.log file.
AutoOutput
Intermediate files. You can delete these after processing.
AutoMaster
Master calibration files, if calibration was done.
The integrated images are useful if you want to continue processing manually. The final image is saved
in XISF format. Check TIFF or JPG in Settings / Save final image files to also save it
in those formats.
Other files that are created
AutosaveSetup.json has all settings used. Load it later to check or fine-tune the processing.
AutoIntegrate.log has the Process Console output. Check it if something went wrong.
ExecutedProcesses.xpsm loads as process icons into PixInsight, showing the exact processes and settings used.
AstrobinInfo.csv describes the imaging session for Astrobin.
7. Improve the result
Default settings give a good first image. If something does not look right, these are the
simple mode options to try first. All of them are on the Settings tab unless noted otherwise.
If…
Try
Read more
Background is uneven or has a light pollution gradient
Check Gradient correction on combined images. Gradient correction is off by default.
GraXpert can be used instead, see the Tools tab.
To fine-tune the final image without running everything again, use the Enhancements tab.
See Image enhancements.
Settings can be saved and after that they are remembered between runs. Use the reset icon (Set default values for all parameters) at the bottom left of the dialog to
go back to default settings.
Simple mode tabs
Tab
What it is for
Files
Light and calibration files, debayering, file sorting and filtering.
Settings
Main processing options, external tools, narrowband palettes and saving the final image.
Tools
MLDenoise and GraXpert settings.
Enhancements
Improve the final image after processing: stars, colors, sharpening, curves and more.
Interface
Preview, flowchart and dialog settings.
Expert mode adds the Other, Preprocessing, Integration and Postprocessing tabs,
with detailed settings for each processing step. The
simple mode options page lists every option you can see
in simple mode, and all options lists the rest.